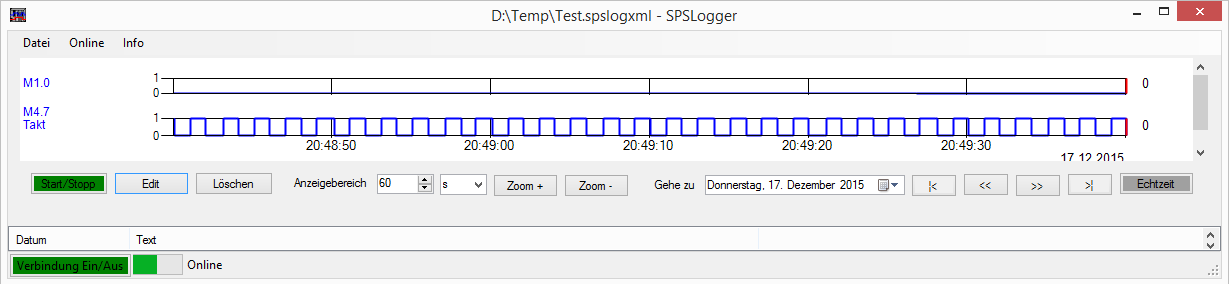
Navigation within the recording
Started recording
Buttons for navigation
Button | <
The beginning of the recording is displayed.
Button <<
The previous display area is displayed.
For example, if the display range is one minute, the time scale is shifted one minute to the left (earlier).
Button >>
The next display area is displayed.
For example, if the display range is one minute, the time scale is shifted one minute to the right (later).
Button>
The end of the recording is displayed.
Go to date
If the recording is more than one day, the date to be displayed can be selected.
Button Real-time
You can view recorded data while recording is running. The recording continues in the background.
The “real-time” button can be used to switch back to real-time mode.
Display area
The display range can be set with:
– Change value (1-60)
– Change unit (s, min, h)
– Button “Zoom +”: Display range is halved. New center is the marker line.
– Button “Zoom -“: Display range is doubled. New center is the marker line.
Marking line
The values of the marking line are displayed at the right end of the log line.
In the real-time mode, the marking line can not be moved.
For this purpose, the real-time mode must first be switched off. For example with the button “> |”.
Move the marker line:
– Use the mouse to click on a position of the log line
– Use the left and right arrow keys
delete data
The “Delete” button deletes all recorded data.